
Logitech C525 HD webcam
The first project that I used this was in "Blown to Bits"
https://www.youtube.com/watch?v=OUwl_MFmUTA.
I remember how difficult it was to handle because it's obviously light-weight and the slightest touch could push the camera away from your target. Luckily, this stop-motion exclusive PC program called Stop Motion Pro allowed me to correctly re-align the camera when this happens.

Onion-skinning, is a useful guide within Stop Motion Pro that shows you where your characters BEFORE and AFTER you've moved the camera. This is instant relief for anyone who's made a mistake or to anyone trying to make their animations smoother. But, one advantage of filming a battle scene is it's okay to make your camera shake a little to show the chaos, just don't overdo it.
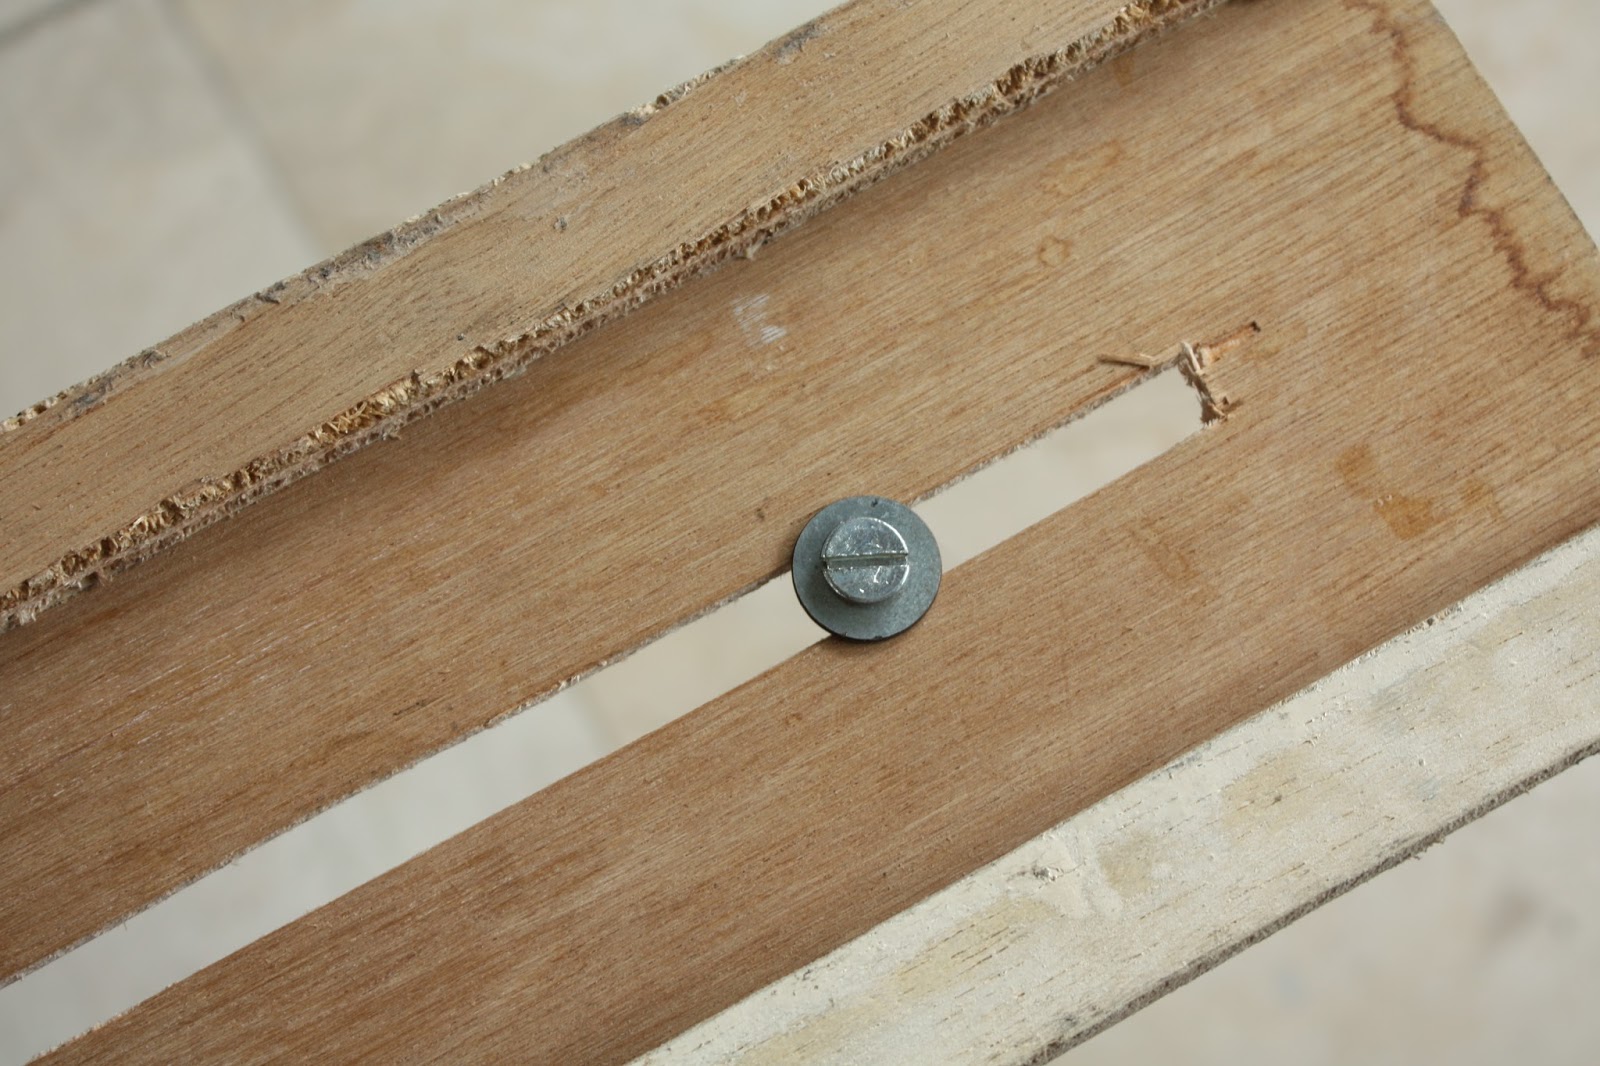
Moving on, I've made some home-made equipment that might interest some of you. First is a wooden dolly, picture below of the top view and several more photos of what it's made of. Quite simply a dolly is something that makes your camera slide across a flat surface.Here are more pictures showing the dolly already set up for filming a demonstration.

 |
| Materials |
 |
| The underside of the rail track |
 |
| 1. Inserting the screw where the trolley will go through |
 |
| 2. Followed by the trolley |
 |
| 3. Topped by a turret ring |
 |
| 4. Mount the Platform where the webcam will be mounted |


Here is my result, a tank crushing an army man, it was a fun little video
My second home made equipment is a tripod extension arm. An extension arm is useful because it allows me to adjust the camera's angle. Because I'm filming small army men I need something that will give me a face-view of my characters.
Here are a few pictures and steps on how I assemble it.
 |
| Materials |
 |
| 1. Tripod only |
 |
| 2. Attaching the extension arm using the tripod's screw |
 |
| 3. Securing the camera |
Here's another test video.
Finally I end this post with me finishing up the test.

No comments:
Post a Comment